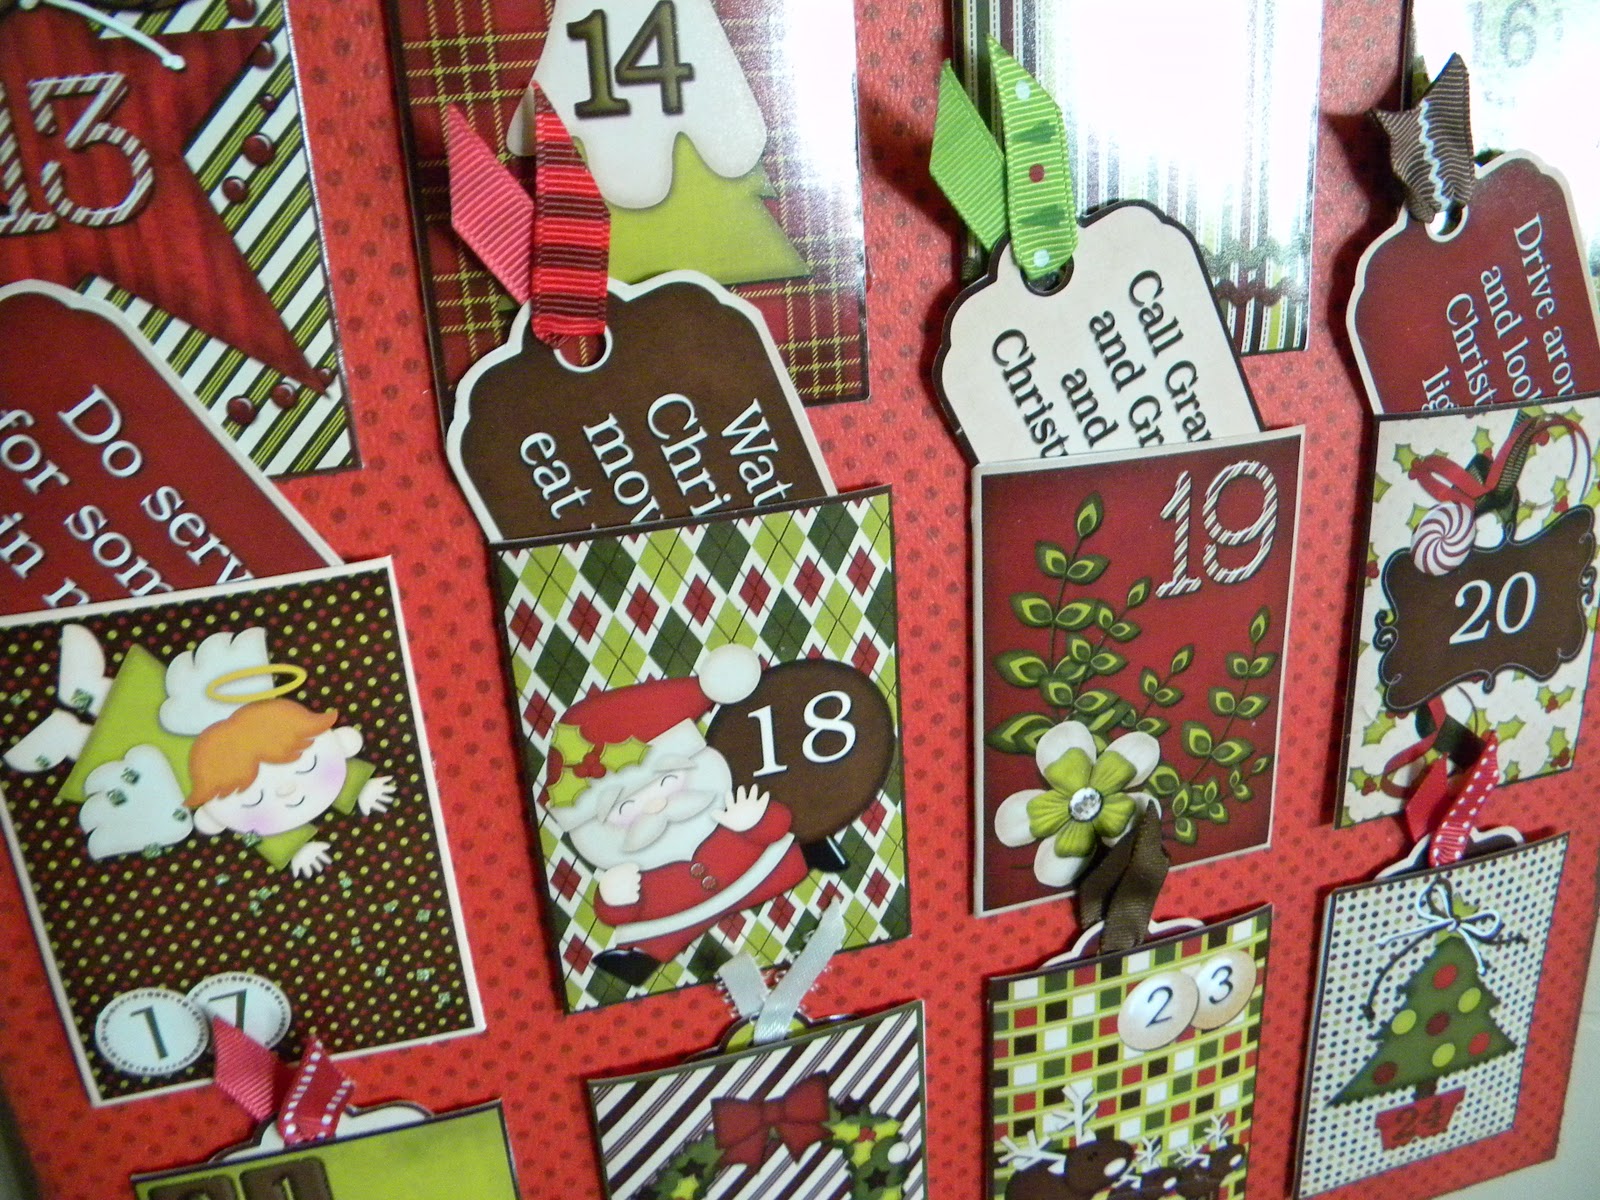
I came across an advent calendar on Pinterest that was so stinkin cute I had to make one. I wish I could have found the original maker to give her credit for her awesomeness, but I couldn't, so just know--she's pretty awesome. So here's the project:
Pretty cute huh?! So here's how to make it...
First you'll need some of these pocket pictures and tags--which you can either buy in my Just So Scrappy Shop
HERE or you can always make your own! My pockets measure 2.25 inches by 3 inches, and the tags are 1.5 inches by 3 inches. If you buy them from me, I recommend sending them to a photo lab to be printed. The quality of the finished product will look better, and there's no tearing or wrinkling to worry about. They will look like this:
Now just cut them in half,
leaving plenty of space around the pocket, like this:
Then just cut out the tags, leaving the little border around each one.
Once you have all your tags cut out, punch a hole right in the middle of that circle:
Now that your tags are done, let's cut out the pockets. Cut each corner off at an angle, just barely on the edge of the picture--
don't cut any of the picture though! Like this:
Now, cut just the
TOP section off, right along the border,
DON'T CUT THE OTHER 3 SIDES OFF!
Once you've got all your pockets cut out, and just the tops cut off, you're ready to fold. I like to use a clear ruler (like one you use sewing) so that I can see through it and see exactly where I'm folding. Take your ruler and line it up on the edge of the picture.
Hold the ruler in place and fold the edge up.
Make sure you crease it well.
Do this to all three sides...
Now you can take the ruler away, flip your pocket over, and bend those three sides to the back. You will have a nice guide to follow and you won't have to worry about folding it crooked.
Do this to all 24 of your pockets. They will look like this:
Now, set those aside and let's put together the backgrounds. You will need something to mount your calendar to. You can use whatever you'd like, depending on how sturdy you want it. Cut whatever you chose to 12x12--you will need two of them. I used hardboard that I got from Home Depot, because I wanted mine to be REALLY sturdy and not bend. It comes in sheets 2 feet by 4 feet, but they will cut it to whatever size you'd like for FREE. So one sheet will make 8 12x12 squares. That's enough for 4 calendars, so grab a couple of friends and have a calendar making girls night!
You will also need 2 pieces of 12x12 scrapbook paper. Choose something with a very small pattern and not a lot of colors, or it will look really busy with the calendar pockets on it! I chose a simple red polka dot paper.
Now just line your paper up to your background board, trace around it, and trim the paper so it will fit exactly on your board. Do this for the top and bottom pieces.
Now take one of your boards and mark one side at 3 inches and 9 inches, and half an inch down:
For the top piece of your calendar, mark the top and bottom of your board. For the bottom board, only mark the top. Now you're going to need a drill and a scrap piece of wood to drill on. Chose a bit that is as close to the size of your hole punch as you can. Mine was 15/64.
Now, drill through all 6 of those points that you marked: remember to use a scrap piece underneath so you don't drill through your counter top!
Now you should have 4 holes in the top piece and 2 in the bottom. Now just line up your paper behind the board, with the right side facing the board. Take a pen and mark all those holes. Do this to the top and bottom pieces.
When you have all the holes marked, you can take your hole punch and punch them all.
Now when you put your paper back on top of your board, your holes will line up nicely.
Now you are ready to glue that paper to your board. Grab some Mod Podge and a brush. Now slather some Mod Podge all over half of your board. I do half at a time because it dries pretty quickly. Make sure to cover your surface COMPLETELY with Mod Podge so there won't be any bubbles when it dries.
Line up your paper and smooth it out. Hold the other half of the paper up while you Mod Podge the other side. Then press then paper down and smooth it all out.
Now flip it over and use whatever you have handy to put some weight on it. I happen to have had a basket of pumpkins nearby, so that's what I used. Mod Podge your paper to both of your boards, and let them dry for a few minutes.
Now you're ready to glue your pockets on your boards. You will need some type of craft glue--I used a glue gun only because I was in a hurry and needed something that dried super fast. However, I would not recommend using a glue gun unless you have a super steady hand and plan on making zero mistakes. If you use a type of glue that is repositionable for at least a few seconds, there will be far fewer choice words muttered under your breath when you accidentally glue the number 15 pocket in the number 16 spot. Not that I did that (yes I did). A glue gun is not very forgivable. So, get some normal craft glue, a piece of paper, and some painters tape. Measure down from the top of your board 4 inches, like so:
Lightly tape your piece of paper at the 4 inch line--this will make sure you get all your pockets lined up straight. Now glue the three tabs on the back of your pocket, line it up on the piece of paper, and glue it about a half an inch from the edge.
Make sure you've got the right pocket in the right place!
Glue the two pockets on the outer edges first:
Then you can just eyeball the two center pockets (about a half an inch apart).
Once you have your first four glued in place, stand back and admire your work. Now, carefully peel your piece of paper up, and tape it back down, this time 3.5 inches from the bottom of the first row of pockets.
Glue the next row on the same way as the first row. Half an inch from the edge, two outer pockets first.
Move your paper another 3.5 inches down from the bottom of the pockets, and glue the next row on. Be careful to glue your pockets on in numerical order! The tags can be random, the pockets cannot. Once you have the whole top board glued, you can do the same thing to the bottom board. Be sure to start at the top--the side with the holes in it.
Follow the same pattern as the top board, first row is 4 inches down, second and third are 3.5 inches down.
This is what they will look like when you're done gluing the pockets on. If any of your glue happened to escape the tabs, your pockets might be sort of glued shut. Just take a butter knife and slide it into each pocket and pop open anything you may have glued shut.
Now we get to decorate the tags! You'll need a bunch of different colors of small ribbon. I just grabbed whatever looked Christmassy from my stash.
You will only need about 2-2.5 inches of ribbon per tag. You don't want them too long or they will cover the picture on the pocket above them. Cut small sections of ribbon at an angle, slide them through the hole in each tag, use a small dot of glue and fold the ribbon in half at an angle:
I didn't take a picture of my next step, but I ran the ends of my ribbon across a candle flame to keep the ribbon from fraying. Try not to light your tags on fire, or better yet, run the ribbon over the flame BEFORE you put it through the tag. Now you just do this for all your tags:
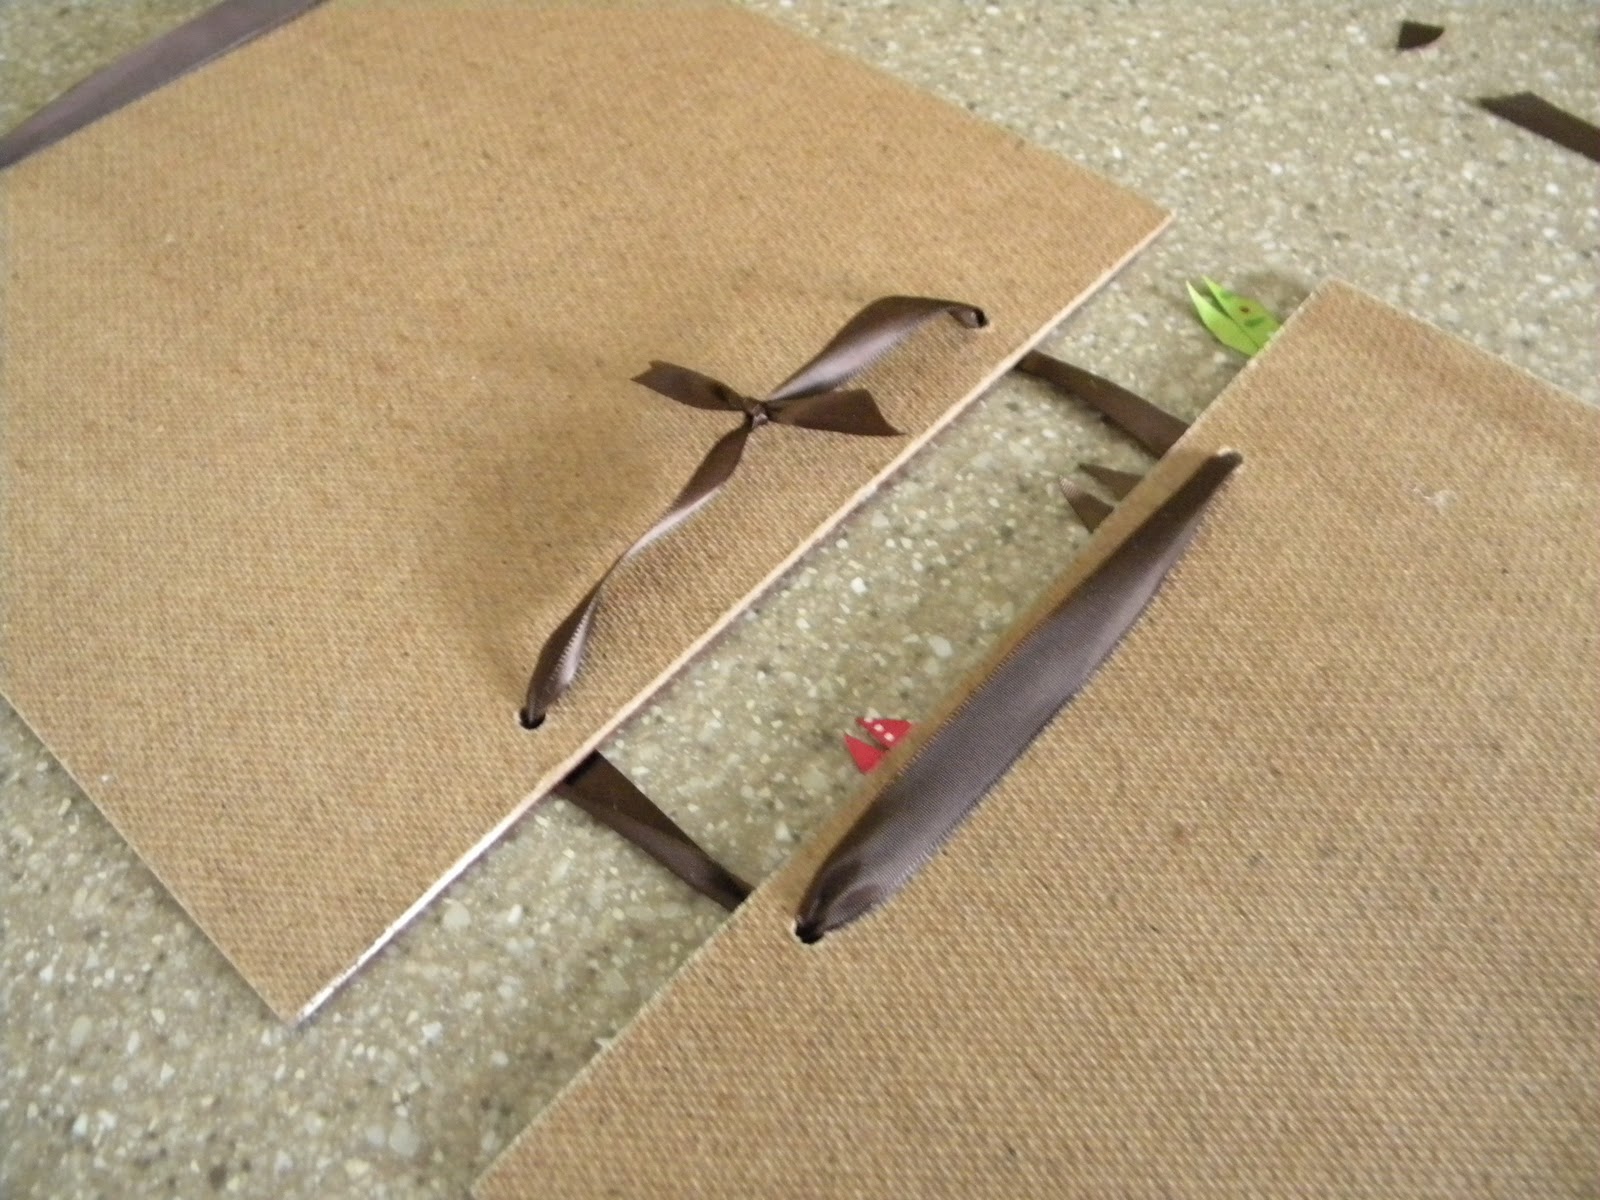
Now you are just about done! Chose some ribbon to tie your boards together and to hang your calendar from. For the top of your calendar, string the ribbon from the back of both top holes:
Now just decide how far you want it to hang, tie a knot, and then a bow:
Now to connect your two boards, string the ribbon through the back of the bottom board, and then through the front of the top board:
Now flip both boards over, adjust the length to how far you want the bottom board to hang, and tie a knot.
Trim your ribbon so it doesn't show when hanging, and you are DONE!!!
I hope your kids are as entertained by this as my kids are! Please let me know if you have any questions!
Email me at flipchickdesigns@gmail.com
Linking up here:


The original pin is from a kit by My Minds Eye or Me and My Big Ideas. I saw it on the back of a scrapbook magazine I bought. Yours looks very close to the original. Nice job! :)
ReplyDeleteSuch a great project!! I can think of so many variations that could be done!! Great work!!
ReplyDeleteThis is extremely cute! Thanks for sharing!
ReplyDeleteK...I am love with all the creativity you have! This is absolutely adorable! Thank you for linking up with Mushki Loves!
ReplyDeleteHave a great day!
Kirsten
That is such a cute advent calendar...Love it! I'm your newest follower from the family ever after party. If you get a chance, I'd love you to stop by my blog & maybe follow along too!
ReplyDeleteSally
loveofhomes.blogspot.com
This is soooo awesome!!! What a great tutorial! I'm doing an advent round up on my blog and will include this for sure! Thanks for linking at Once Upon a Weekend!
ReplyDeletenewest follower!
So cute! I love any paper craft related project and this is adorable:) I would love you to come link up at my new Friday Frolic link party. It needs some love!
ReplyDeletehttp://karismaheartsavannah.blogspot.com/2011/11/friday-frolic_11.html
Absolutely Adorable!! Love it!
ReplyDeleteThank you very much for the step by step instructions for the Advent calendar.
ReplyDeleteI have sent you an email.
I have been looking for a fun advent calender tutorial, and this one is awesome! I love how detailed you made it, perfect for those of us who want to recreate it! I am so happy to have you share this @ Show & Share, thank you!
ReplyDeleteYou have SO MANY cute things! Thanks for this, I will totally be making it for next year!!
ReplyDelete